How to Take Stunning Newborn Photos with Your iPhone

newborn
family
Client tips
parent tips
"I wish I knew"

I'm Marjorie
LOS ANGELES NEWBORN & FAMILY PHOTOGRAPHER
I work with parents who want relaxed and unposed photos, providing them with images that capture the joyful and unscripted moments in life.
More about Me
In order to take stunning photos of your newborn baby with your iPhone, you will need two things:
- A newborn baby
- Your iPhone
Yep, that’s it! A great photographer can make almost any camera work. Have you ever heard that saying, “The best camera is the one you have with you”? Well, that’s true!
A better camera will not automatically turn anyone into a better photographer. What makes someone better is intentional experimentation. Trying out different things, and seeing what works.
The more you take photos intentionally – meaning, the more you pay attention – the better your photos will get.


So what exactly should you be paying attention to? Check out my tips below.
*One thing to keep in mind – improving your skills as a hobbyist will not eliminate the need for a professional newborn photographer. It is, however, a great way to get beautiful photos in between sessions!
How to take Newborn Photos with your Smartphone
Depending on your smartphone model, you could have up to three different cameras available to you.
Each camera will have a different focal length. One will be wider, one is a mid-range lens, and the other a longer or “zoomed in” lens. Having three lens options allows you to manipulate your field of view without degrading the quality of the images.
But let’s not get too technical about it. The wider lens will allow you to see more of what’s around you (like a less extreme version of a fisheye lens,) while a longer lens will show a smaller section at a time (think portrait mode.) I can’t say that one is better than the other because it really comes down to the intention behind the photo. The trick is to experiment and find out which option works best for your current situation.

The one thing you DON’T want in your photos
Believe it or not, a lot of what makes a photo successful or not has to do with this one thing you should avoid: DISTRACTIONS.
A distraction can be caused by almost anything. It can be a color in the background that’s too bright. Harsh lighting coming from above that blows out (overexposes) a section of someone’s face. It can even be the fact that someone’s feet were cut off, or part of their head isn’t in the frame!
Anything that draws your eye away from the intended focus is a distraction and will make your photo less effective.
See my tips below for two simple ways to eliminate distractions from your images.
5 Tips for taking your own newborn photos
Here’s a list of ACTIONABLE tips that are all very easy to follow but will make a big difference in your photos. I’m including short videos to elaborate on each tip and give you examples and visual references.
I include both artistic and technical tips that all have something in common: they have to do with training yourself to pay attention and taking photos more intentionally.
- EXPERIENCE THE MOMENT – Pay attention to what is going on around you and get in the zone before you pick up the camera or take out your phone. Though newborns will not have much sense of what’s going on, kids and adults will. Practice being unobtrusive so you don’t interrupt a moment before you’re able to capture it. This is a skill that will bode well as your baby gets older and becomes more aware of their surroundings.
- ESTABLISH THE WHO, WHAT, WHEN, WHERE, WHY– At first, this might not seem applicable to taking photos of your baby at home. All of those things will be pretty obvious, right? But imagine yourself looking back at these photos in a few months, or years, or even decades… did all the important information make it into the photos? Will you remember how this moment felt or just what your baby looked like? When considering the 5 W’s, you will start thinking of your photos as a way to tell stories. So take a series of photos – include the big picture, but also the details. Get low, then high, and try out different angles. Then look back at all your photos and keep the ones that tell the story the best.
- COMPOSITION: EDGE CONTROL – Think about all the elements in your photo. Make a deliberate decision about what you want to include and exclude from the frame. Remember to eliminate distractions from your image to keep it focused and cohesive. Do a quick scan of the edges of your image to make sure you’re not cutting anything off you want to include, and that you’re not including something unnecessary.
- COMPOSITION: ISOLATING YOUR SUBJECT – Because our cameras are not as intelligent as our brains, they don’t have the same ability to focus on a single element at a time (unless we tell them to.) So when we point our lens at someone, that lens will also capture everything around and behind them. Those elements can create distractions (there’s that word again) which take away the focus of our images. Portrait mode on your phone will help with this by creating a more shallow depth of field which separates your subject from the background using focus. But I recommend not relying on that too heavily so you can learn how to control your images. So when you frame up a shot, notice what is directly behind your subject and avoid anything distracting by simply moving your body a few inches to one side or the other. Test out different backgrounds to see what works best.
- USING NATURAL LIGHT – You might already know that light has different temperatures. Think about the color of the sun versus a lightbulb versus a candle. When taking photos, you will always get the best results when using natural light, which is photographer-speak for sunlight. Sunlight itself can have many qualities – it can be direct and harsh (high noon,) diffused and soft (cloudy day,) reflected (coming in through a window and bouncing off the walls,) or backlit (standing in front of a sunset.) Generally speaking, natural light will give you the best, most vibrant colors, and neutral tones. Artificial light can give your photos an orange cast, and mixing both natural and artificial light will combine color temperature in a not-so-flattering way.
An important consideration…
When learning a new skill, it’s easy to feel overwhelmed. Although cameras are now ubiquitous in our culture, we are not used to giving photo-taking a lot of thought – unless you’re a professional photographer!
So I recommend taking it one step at a time. Focus on a single element and master it before moving onto the next thing.
These skills may seem totally disconnected at first, but once you start using your phone camera (or a real camera) more intentionally, all these elements will come together.

What can you do with your phone camera photos of your newborn?
The one thing I always highly encourage – whether you’re hiring a professional photographer or taking your own photos – is to get your photos printed!

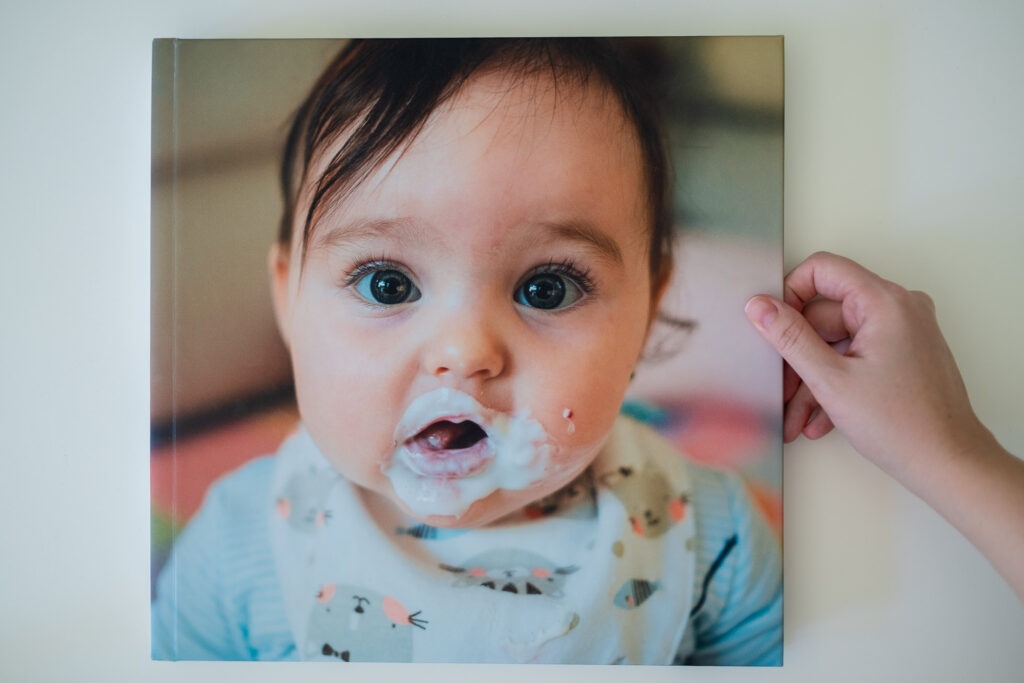

Don’t let these once-in-a-lifetime moments get lost in the sea of digital data inside your phone. However special they feel on a small screen, their impact will be so much more powerful when seeing them in a beautiful album or hanging on your walls. I even love simple polaroid-style prints once in a while!
And your kids will appreciate it, too. They will love seeing images of themselves on display. It’s actually even been proven to improve their self-esteem!
Here are some recommendations for printing your images
- I love Mpix for loose prints and photo books!
- I use the Fujifilm Instax Printer for polaroid-style prints (as seen above) when I want some instant gratification!
- If you’re hiring a professional newborn photographer (like me!) consider someone who offers print products as well as digitals!
Free PDF download!
Want ideas for what to photograph once your baby arrives? Here’s a downloadable pdf with the Top 10 Must-Have Moments to Capture – download it here for free!
Preparing Your Home For Your Photo Session
Easy and stress-free guide on getting your home ready for a photo session. Here’s what you need to do and here’s what you can skip!
5 Quick Tips for
grab your guide


free guide


Post Comments